Hello Again,
A few weeks ago, I participated in my first (and New Haven's first) Chalk Art Festival! Professional and amateur artists were invited to create 3' x 3' chalk masterpieces in the Broadway shopping district in the center of Yale University.
Prior to the event, I fiddled around with a few different designs, finally settling on a geometric quilt pattern. I cut out a 3' by 3' piece of paper at home and penciled in each design by hand, using plastic lids and embroidery hoops for the circle shapes. It was fun deciding what each quilt block would look like, but it did take some time to measure out the angles for each square.
Once I completed the full size rendering, I made a small sample of the design to carry with me on the day of the event. I packed up my chalks, rulers, circle forms, water, snacks, and drove to New Haven.
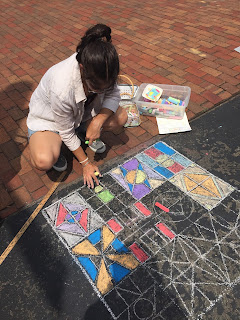
I parked in a downtown garage and hauled my gear two blocks to the chalking area. The temperatures were pushing 90 degrees and there was very little cloud cover. I spent the next three hours crouched on red hot pavement, chalking my creation. It was inspirational to peek over my shoulders to see what others were creating, but I found that I couldn't take many breaks since it was taking me longer to finish than I had hoped.
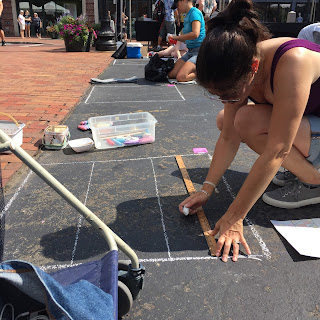 |
| Getting started. |
|
|
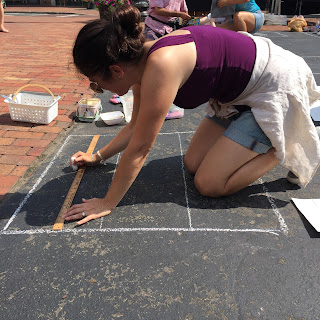 |
| Measuring squares. |
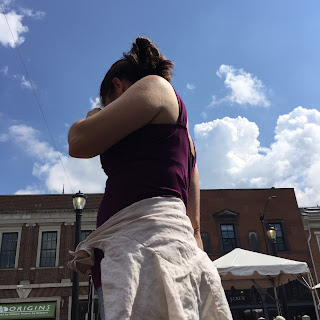 |
| Taking a break! |
|
|
|
Once I had the outline of my design completed, I started to add in some color. I found that the best way to blend the chalk was to rub it with the tips of my fingers. (My poor fingers were black and raw by the end of the day).
 |
| Blending the colors. |
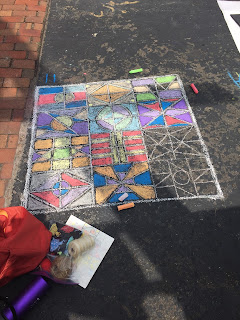 |
| Progress! |
The finished design took a little over three hours, far longer than I had anticipated. The heat added to the challenge....
 |
| Detail. |
|
|
|
|
|
|
|
|
|
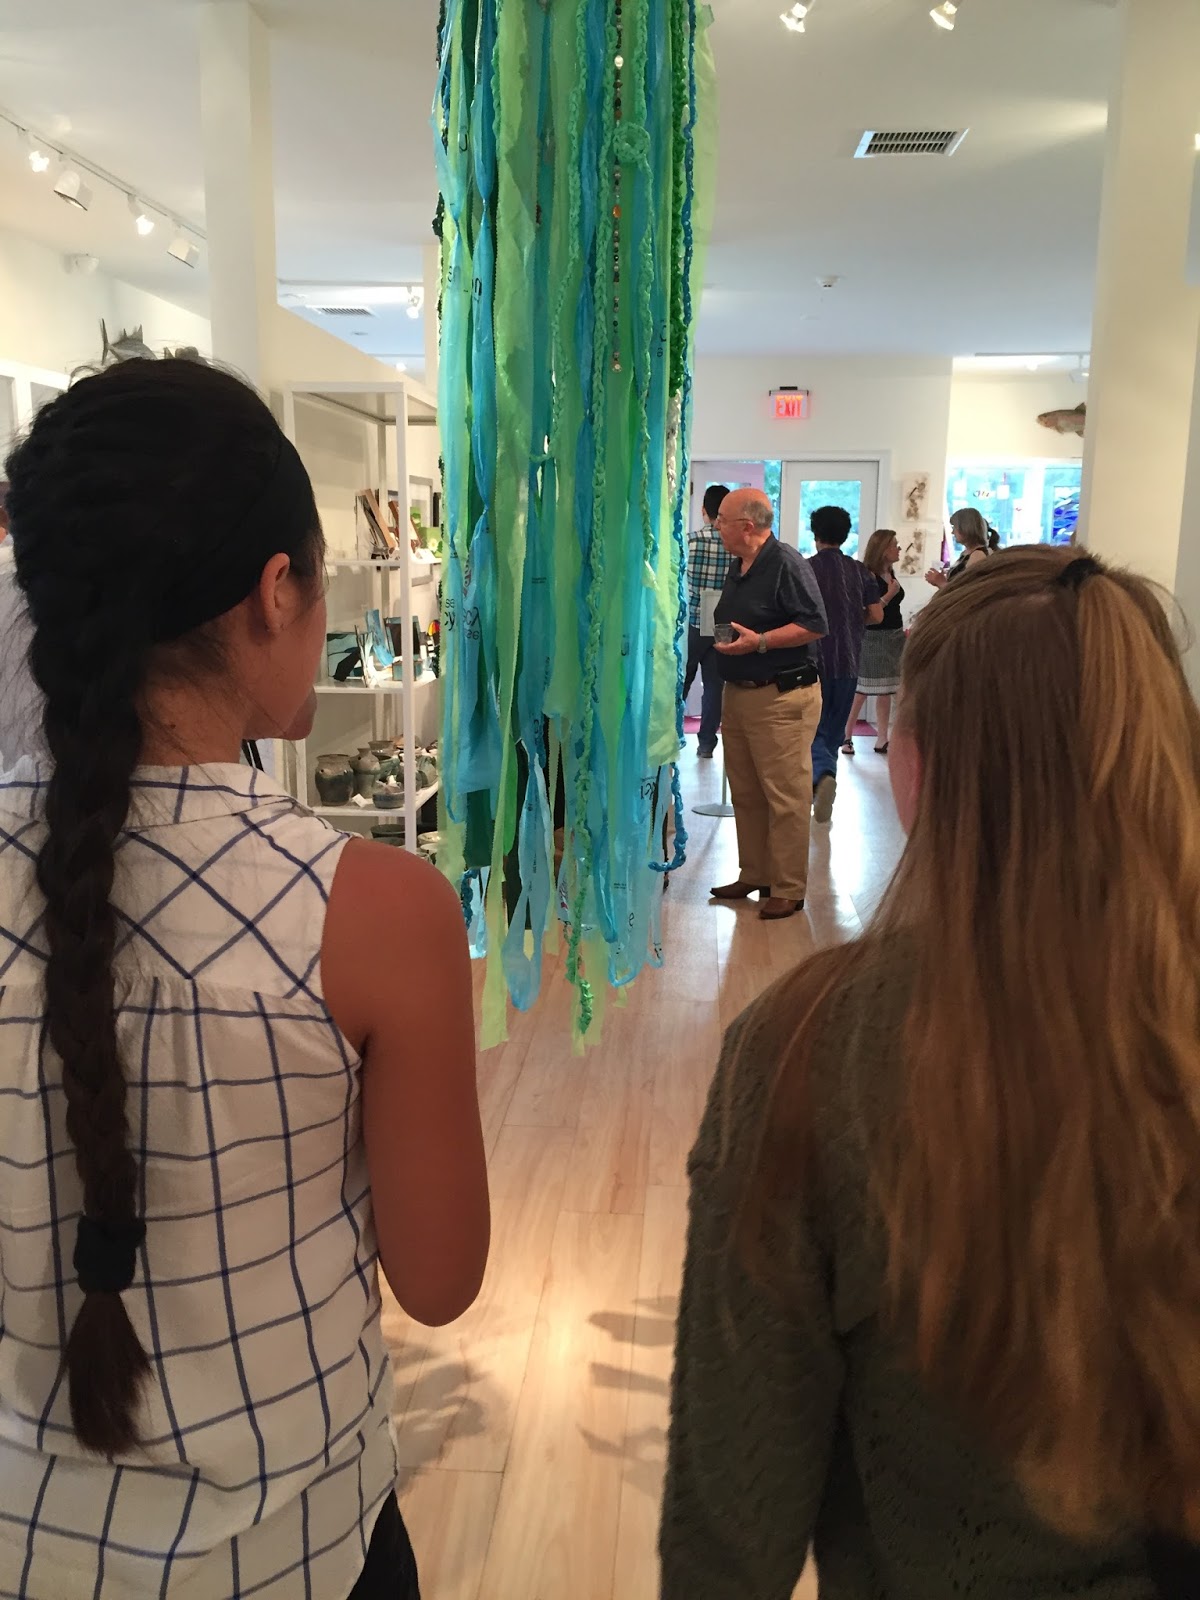
I would have liked to go back into the design and do more blending and outlining, but I was pooped and figured I'd just leave it be. The event was well-attended, and it was gratifying to see so many people admiring the chalk artists and their work.
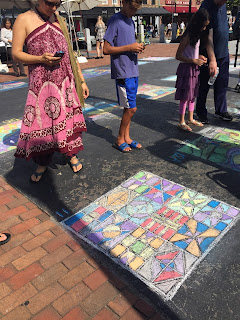 |
| Admirers. | | |
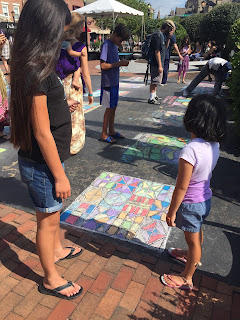 |
| More admirers. |
|
|
All in all, it was a super-fun day!
See you soon,
Marsha